This is an interesting walk which circles around the Prime Minister's country home of Chequers using public footpaths but also has a couple of other interesting points on route. Don't think, however, you might have the opportunity to see the PM sitting in the garden, you will be a good distance away but you will get a distant view of this 16th century manor house several times on the walk. Although just 4.75 miles, the walk does have some challenging climbs and descents.
Parking
Park at the National Trust Coombe Hill Car Park where there is plenty of available space. You can find this at the end of Lodge Hill grid reference SP 851062 or just google it.
Map
The map shows the walking route with suggested direction of travel and photo points along the route (Px).
Walk Description
The photo points are shown on the map above, see "Px".
Car to Point 1 on Map
From the car, find the noticeboard and beyond this a picnic bench (photo P1), this is the starting point of the walk.
Go through the gate and turning right, take a path diagonally left and continue straight across grassland uphill towards the Boer War Monument ahead (photo P2). This is dedicated to the 148 men from Buckinghamshire who lost their lives in the Boer War (1899 - 1902).
At 260m above sea level, Coombe Hill is the highest viewpoint in the Chilterns with panoramic views over the Aylesbury Vale.
Once you have had a good look at the memorial and views below, look for a path which is almost the reverse of the path to come up but keep an eye for a much narrower path off to the right more steeply downhill. If you look into the distance you should see your first glimpse of Chequers!
Eventually after slowly contouring downhill you come to a very steep downhill path to your right which I managed to get down on a lovely dry day. If you don't fancy this, retrace your steps a few paces and take a more diagonal path downhill until you reach a path and turn left to get to the same point at the bottom of the steep hill where you see two metal gates. Take the right one (photo P3).
This path continues downhill with the golf course on your right and becomes a wider track which leads to a main road, you have reached point 1 on the map.
Point 1 to Point 2 on Map
Turn right using the pedestrian path alongside the road for about 100m when you need to look for a footpath crossing a field to the left (photo P4).
Once you have walked across the field you will come to a crossing track and you turn right which will take you to the village of Ellesborough and the church will emerge into view (photo P5).
Turn left for a short walk along a path by the road and then turn left again along a footpath where the next walking challenge will soon come into view, Beacon Hill (photo P6).
It is worth the steep walk up to Beacon hill but if you don't feel like it, you can continue to the right in a path which goes around the hill. If you make it to the top you will be rewarded with some more fine views, you can see back to Ellesborough as well as Coombe Hill and the Boer War Memorial (photo P7).
Apparently Beacon Hill was the site of an anti-aircraft gun to protect Chequers during the Second World War. These days there is a tall CCTV camera as you walk toward a group of trees at the summit with the same protection in mind.
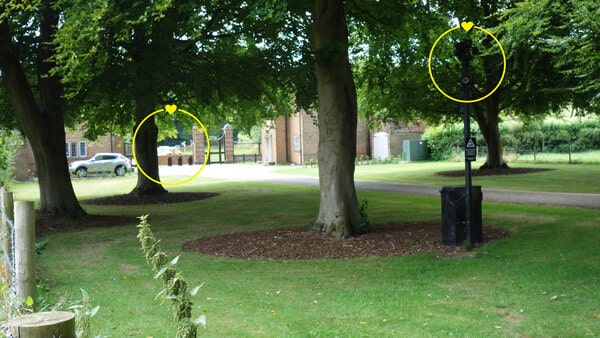
You leave the hill by a narrow path downhill which is almost the direction of your route up to the group of trees and CCTV pole (photo P8).
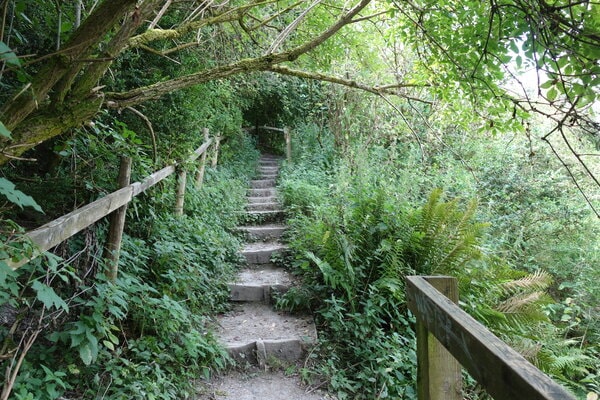
It initially contours downhill gradually but at some point you will need to turn left steeply to re-join the clear path at the bottom of the hill and then you turn left towards trees and a gate. Go up a series of steps (photo P9) and you will come out into a field which you cross (photo P10).
Go through the gate through some woodland and you will come across a track which leads to Chequers. Humans are warned not to venture but it seems that deer are allowed or can't read! (photo P11). You have now reached Point 2 on the map.
Point 2 to Point 3 on Map
You now walk alongside the wood and once the area of woodland ends, it isn't long before Chequers comes into view (photo P12)
Continue walking on a clear path with regular warning signs on your left to discourage you to leave the footpath. The view of Chequers improves and the Boer War Memorial will become visible too (main Photo at top of the page). You will need to take a sharp left turn at one point marked as Ridgeway (photo P13).
This path which eventually crosses the main drive to Chequers although a small rise in the drive elevation means you can't see anything apart from the gatehouse to your right (photo P14). Notice loads of CCTV cameras and a police car outside the gatehouse.
Continue in a straight line with Chequers to your left until you reach a main road which you should take great care in crossing as it is a blind corner. You have now reached point 3 on the map.
Point 3 to Point 4 on Map
The Ridgeway is fairly clear heading to the left after having crossed the road (photo P15).
Follow the track uphill and at a major intersection of footpaths continue up the hill. The key thing is to keep looking for the "Ridgeway" on signs (photo P16).
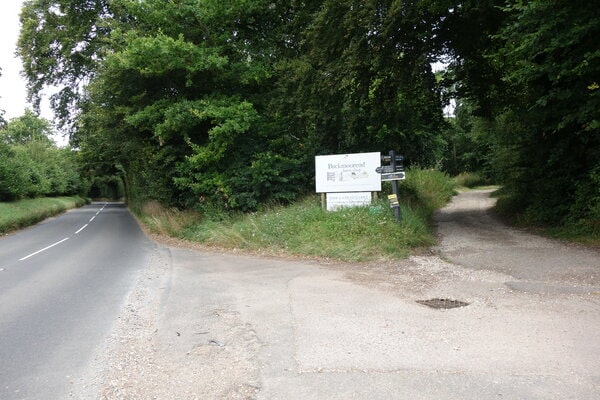
Then turn left following Ridgeway signs (photo P17) and although you are in a more open woodland area with many options, keep following these Ridgeway signs or acorns on posts (photo P18).
Eventually you will reach a road next to a private drive. You have now reached point 4 on the map.
Point 4 to Car on Map
Cross this road diagonally and head along a path back in woodland. Work your way through these paths gradually going up hill and eventually you will come to a metal kissing gate and a sign showing that you are back into Coombe Hill (photo P19).
Turn immediately right and you will shortly find yourself at the picnic area and then to the car park to end the walk.


0 Comments